Like enthusiasts of any hobby the need for bigger, better, badder strikes often. In the ATV world it’s no different.
A larger, less restrictive intake is a method to generate more power cheaply by delivering more air to the engine.
A while back I went to clean my factory air cleaner on my 2007 Yamaha Raptor 700 and noticed the foam filter was falling apart. Since I first purchased this machine I wanted to do the “big three” upgrade (intake, exhaust and fuel controller) but was struggling to justify it to the wife. Here was justification #1. I need a new filter.
After devouring a few articles on the internet and realizing that most kits are the same and cost about the same I headed to my local dealer. I like to keep my dollars local if possible. This dealer has been fair to me parts and advice wise. The parts guy recommended a kit by ModQuad. The kit retails for $119.
The intake kit is quite simple. A billet aluminum intake filter/mount, a K&N filter, an outerwear filter and assorted hardware. I like the K&N stuff. I have been running K&N filters since 1988.
Tools Needed to Install ModQuad Intake:
Drill & Assorted Bits
Ratchet and 10 mm socket
Screw Driver
RTV or Silicone Gel.
Step 1. Find a nice clean spot to park your ATV. I did it in the garage.
Step 2. Open the ModQuad intake system and make sure all the parts are there and are defect-free.
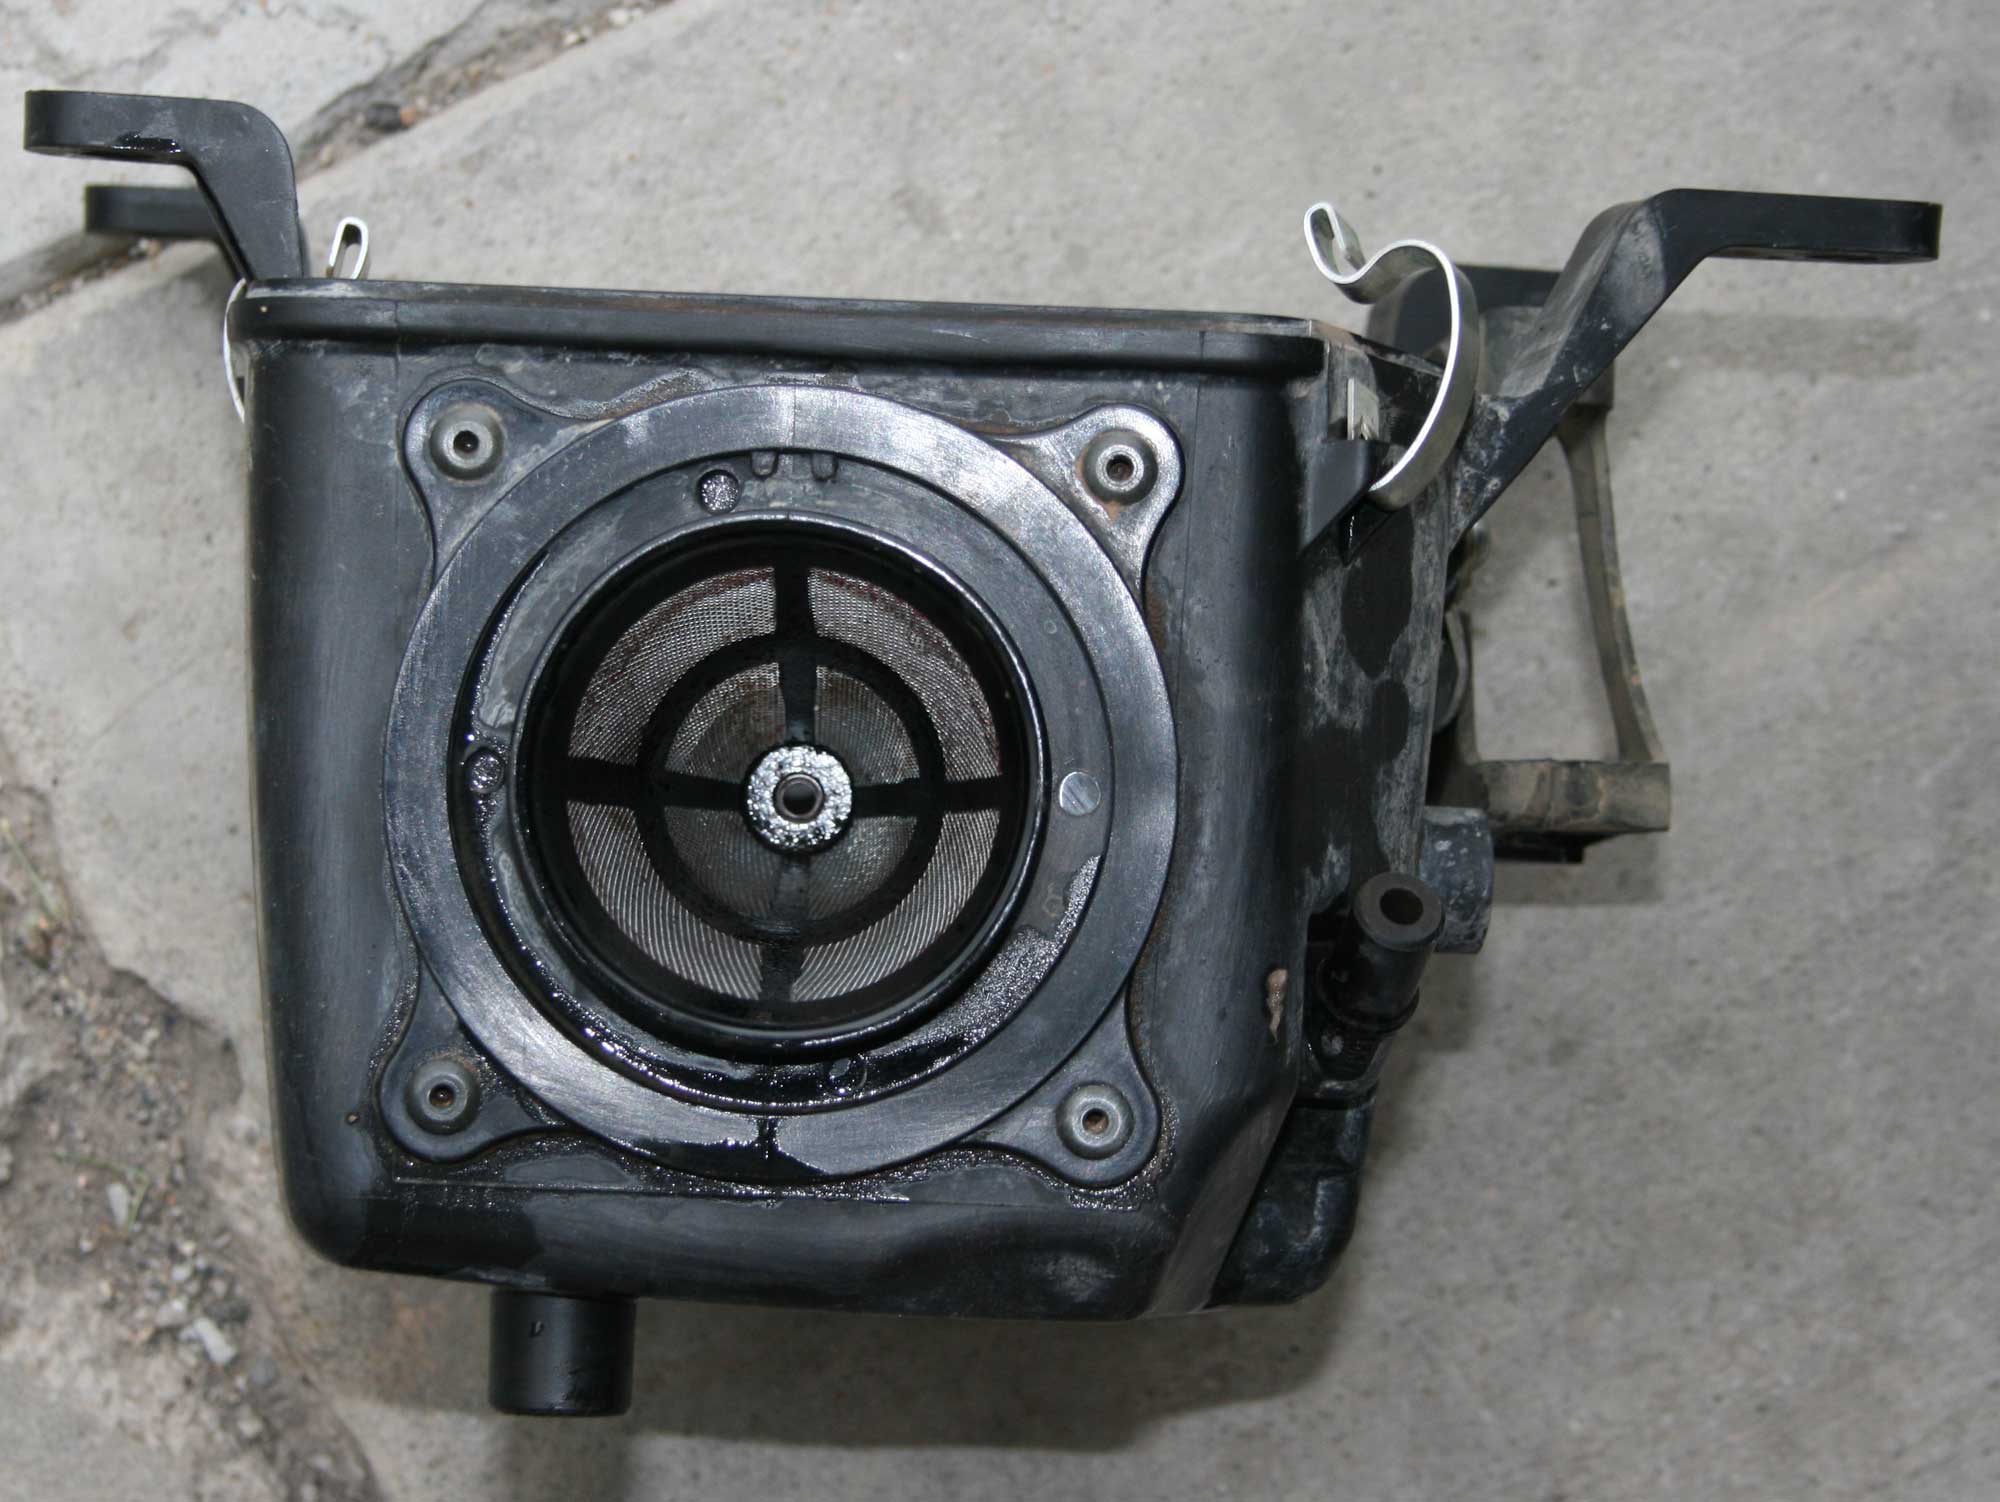
Step 3. Remove the air box lid.
Step 4. Loosen the air box clamp using a flat-bladed screwdriver. I was able to access the screw from the top.
Step 5. Loosen and remove the air box bolts (4)
Step 6. Remove the wiring and the breather tube from the air box. Tip: the module attached to the air box is removable by slipping it out of the rubber holder that is riveted onto the air box. It slips out relatively easily.
Step 7. Put a clean rag in the filter hole to keep dirt out of the engine.
Step 8. Remove the factory air filter and frame.

Click to enlarge
Step 9. Clean out the air box. I am assuming that everyone has a dirty air box like I did. The factory filter box collects dirt and dust on bottom of the intake box. The filter oil seems to collect their also. Now that the intake box is away from the actual engine intake it’s a good time to make sure its squeaky clean. There is a factory clean out tube on the bottom that probably has dirt and filter oil in it. Squeeze the clamp and it slips right off.
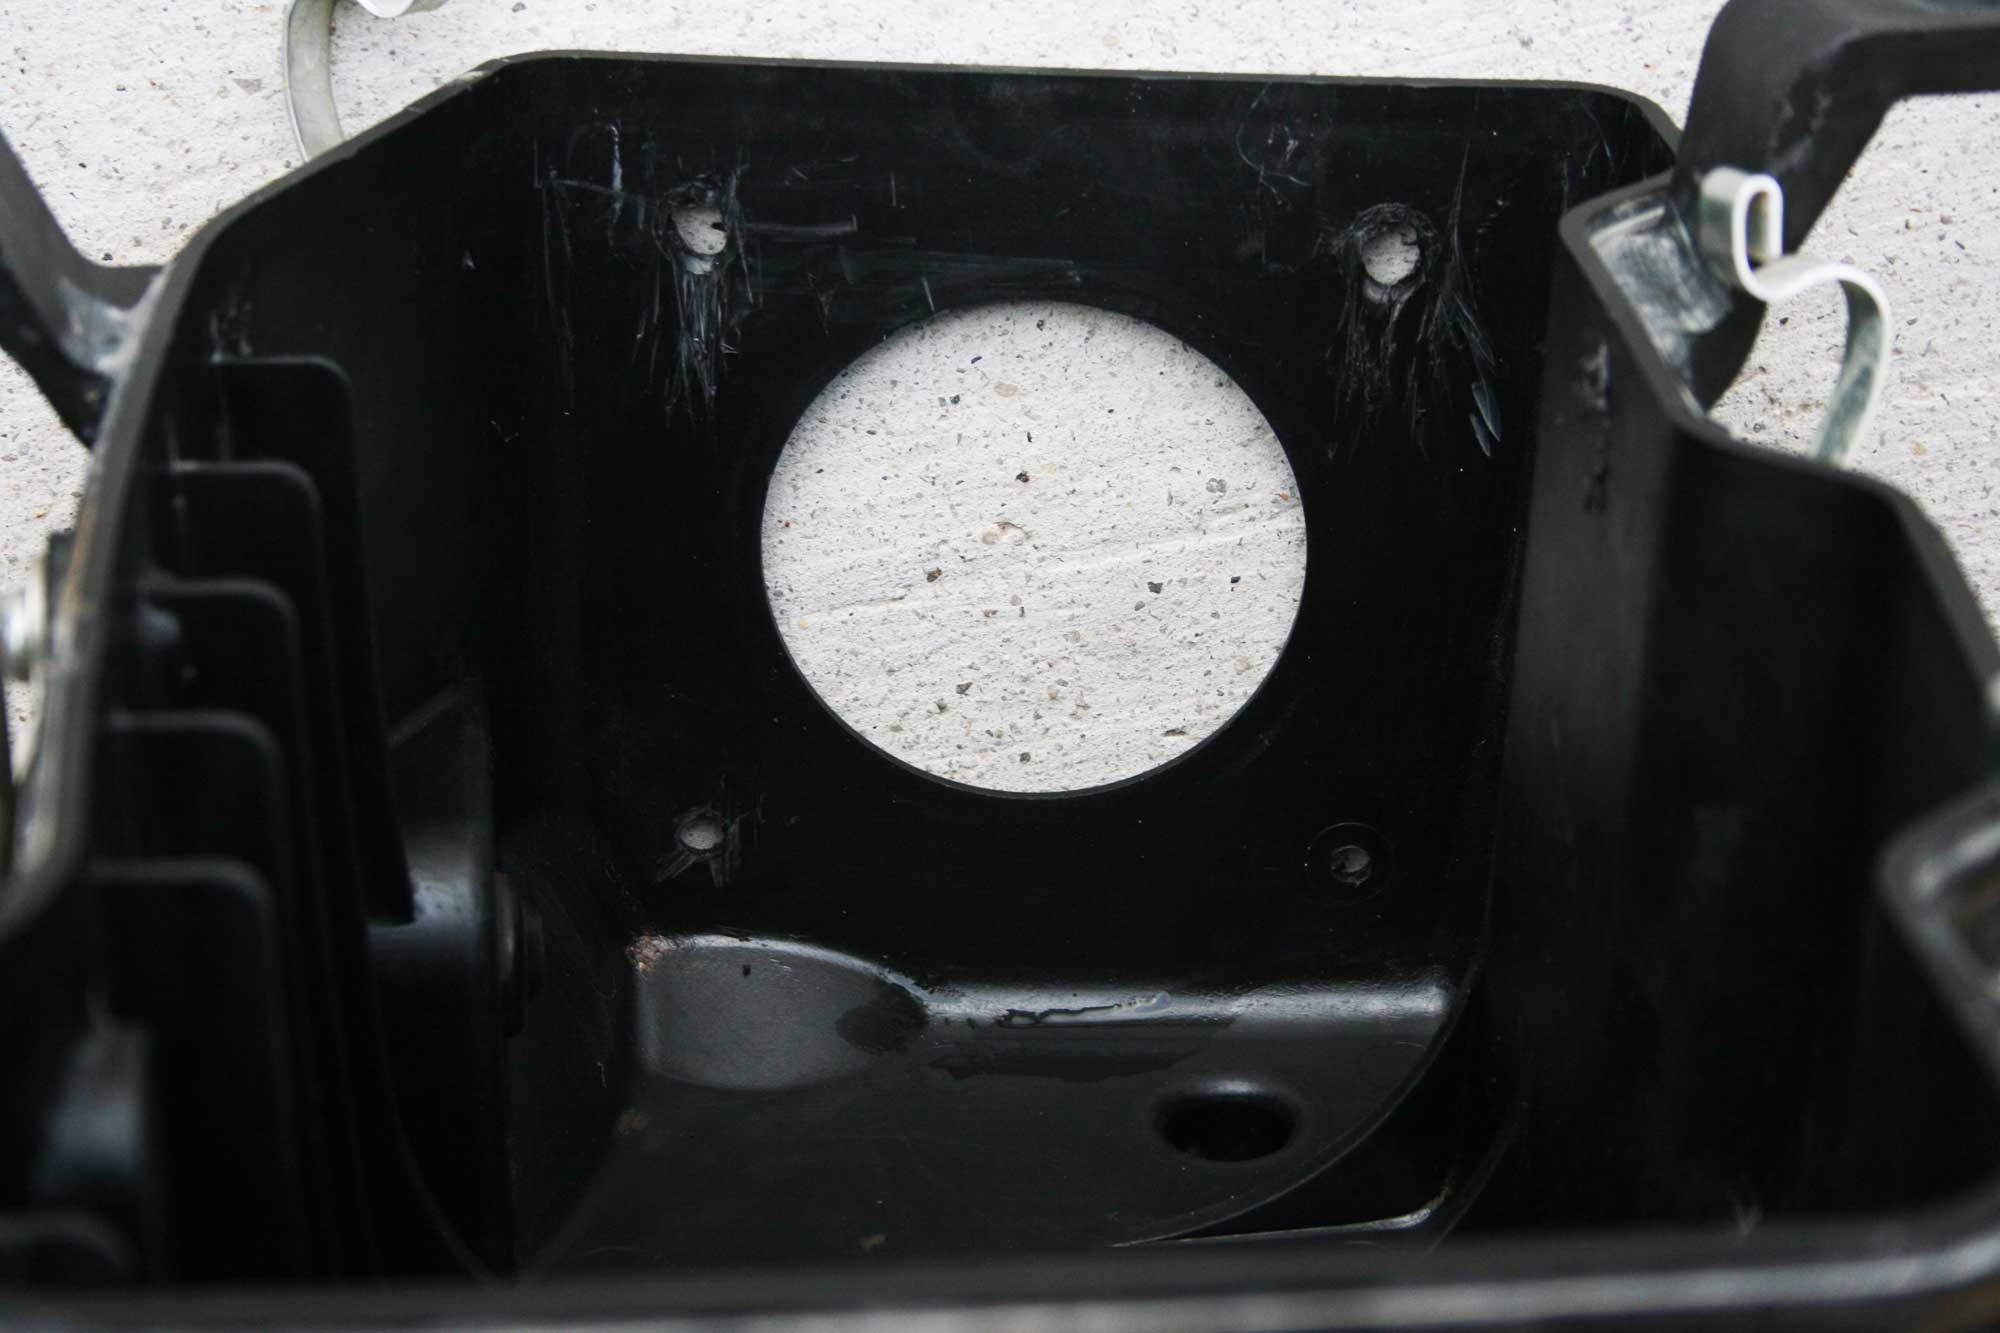
Step 10. For some reason the factory unit has a screen cone riveted into the air box. It has 4 rivets that need to be drilled out. I found the easiest way to drill these out is by drilling a small pilot hole and then using the full size bolt bit. Drill from the outside in. It only takes a minute.
Step 11. Once the rivets are drilled out take a minute or two to smooth the newly enlarged holes. I used a utility knife and a razor blade to smooth the surfaces.
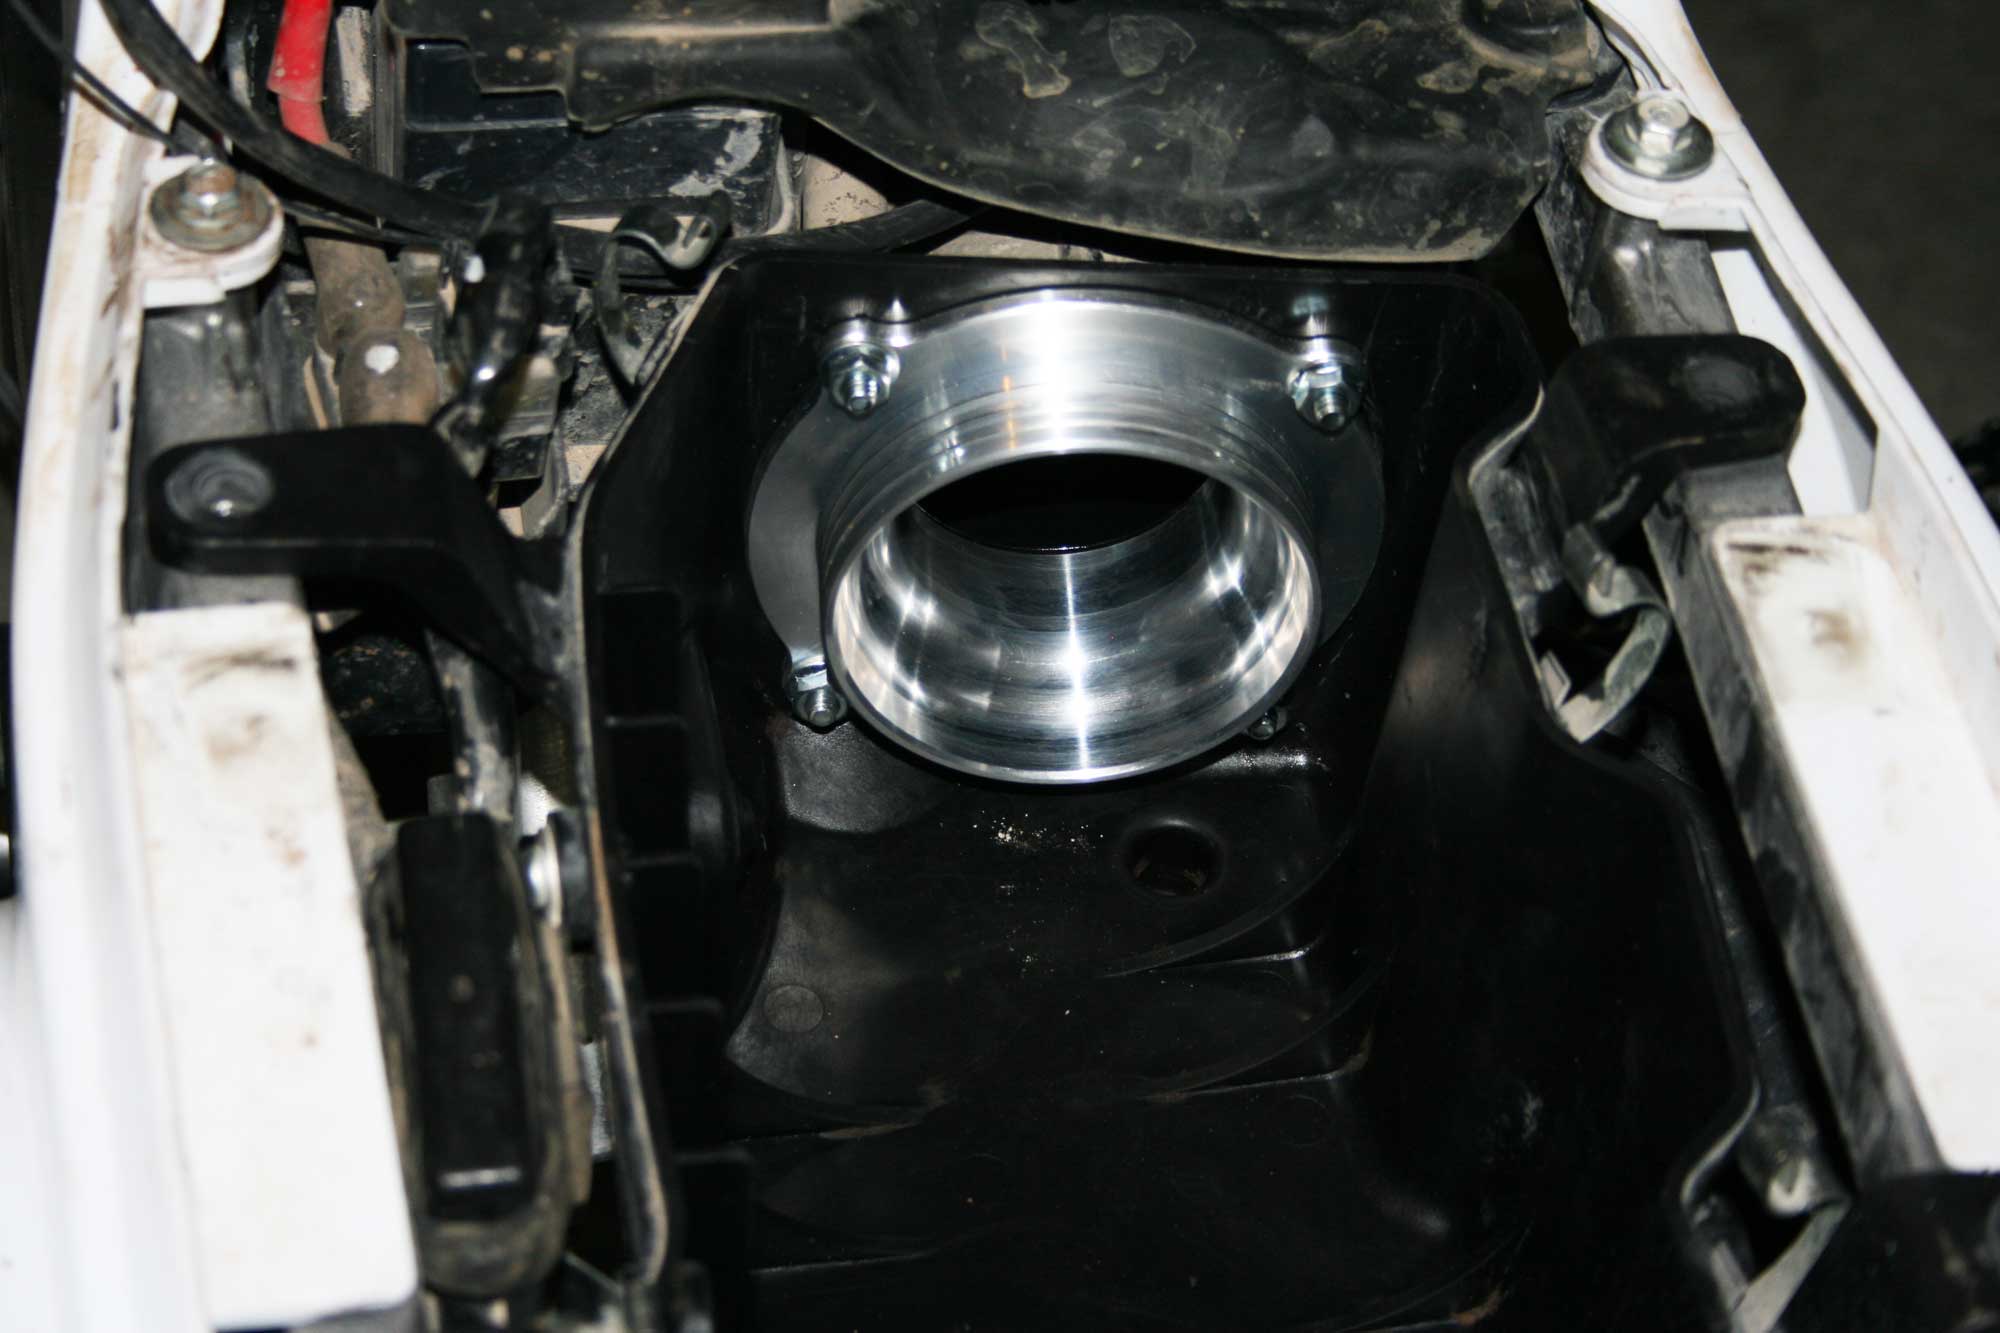
Step 12. Bolt on the filter base to the air box using the included 4 bolts and nuts. I used RTV to seal the aluminum base to the plastic box. I didn’t want to have any air leakage.
Step 13. Reinstall the air box. Remove the rag that is keeping the engine air tube clean. Connect the wiring module to its holder. Insert new base into the air tube. Reinstall the bolts. Etc.
Step 14. Oil your K & N filter.
K&N oil comes two ways, a squeeze bottle of oil or a spray can. Remember you are oiling the OUTSIDE of the filter, the way air goes into the filter. With the squeeze bottle, put one thin line of oil on each pleat, only on one side please. With the spray oil, use this method: with the oil spray at about a 45 degree angle to the pleats, spray across the top of one pleat onto the side of the next pleat and put one quick line of oil on each pleat. NOTE that the spray oil comes out in a sputtering stream rather than a fan spray, like paint.
Wait at least 10 minutes and touch up any spots that are still white. The entire filter should have a light red color. DO NOT OIL THE ENTIRE FILTER TWICE! Only touch up white spots.
I will dab the excess and clean the metal portions with a lint-free cloth or shop towel.
Step 15. Install the outer pre-filter.
I didn’t have an air box lid so I didn’t reinstall it. I have found that running without a lid is a cheap way to get more air flow and seems to be safe in all but the most extreme wet conditions. However I don’t do much mudding with this machine.